Giant Goliath
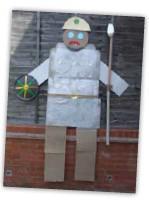
To make Goliath’s body, open out a large cardboard box and spray one side silver. Attach wide strips of card behind the body as arms and legs. Attach a large circle of card or a polystyrene pizza base as the head. Goliath’s helmet is half a paper plate sprayed gold and decorated with silver foil and coloured card; use whatever you have to hand. The top part of his armour is decorated with small foil pie cases that have been squashed (children love doing that) and stuck on. Glue sticks work best on the spray paint. The lower half of the armour is bubble wrap sprayed silver and the belt is a strip of parcel tape with a cardboard buckle. The shield is a polystyrene pizza base decorated with card, and the spear (or you could make a sword) is two cardboard tubes taped together with a foil covered spearhead taped to the top. At our Messy Church we fired marshmallows at Goliath – I’ll leave that up to you!
Strong Stones
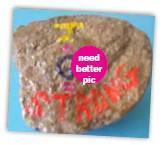
The stones that David used were smooth, probably like the ones that we use to skim on water. If you can’t find stones like that, you just need one flattish surface. Clean the stones thoroughly beforehand. Invite the children to paint something on the stone that reminds them of the story. The one in the picture has an initial J (for the child’s name) + G (for God) = STRONG. The paint should dry quite quickly. If you like, you can then paint the surface with highlighting coating to give a shiny appearance.
David and Goliath figures
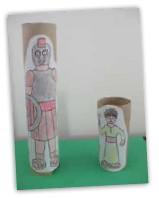
Cut some of the cardboard tubes in half. It’s best to avoid using the insides from toilet rolls for reasons of hygiene. Colour in the figures of David and Goliath and cut round the dotted lines. Stick David to a small tube and Goliath to a tall one.


